
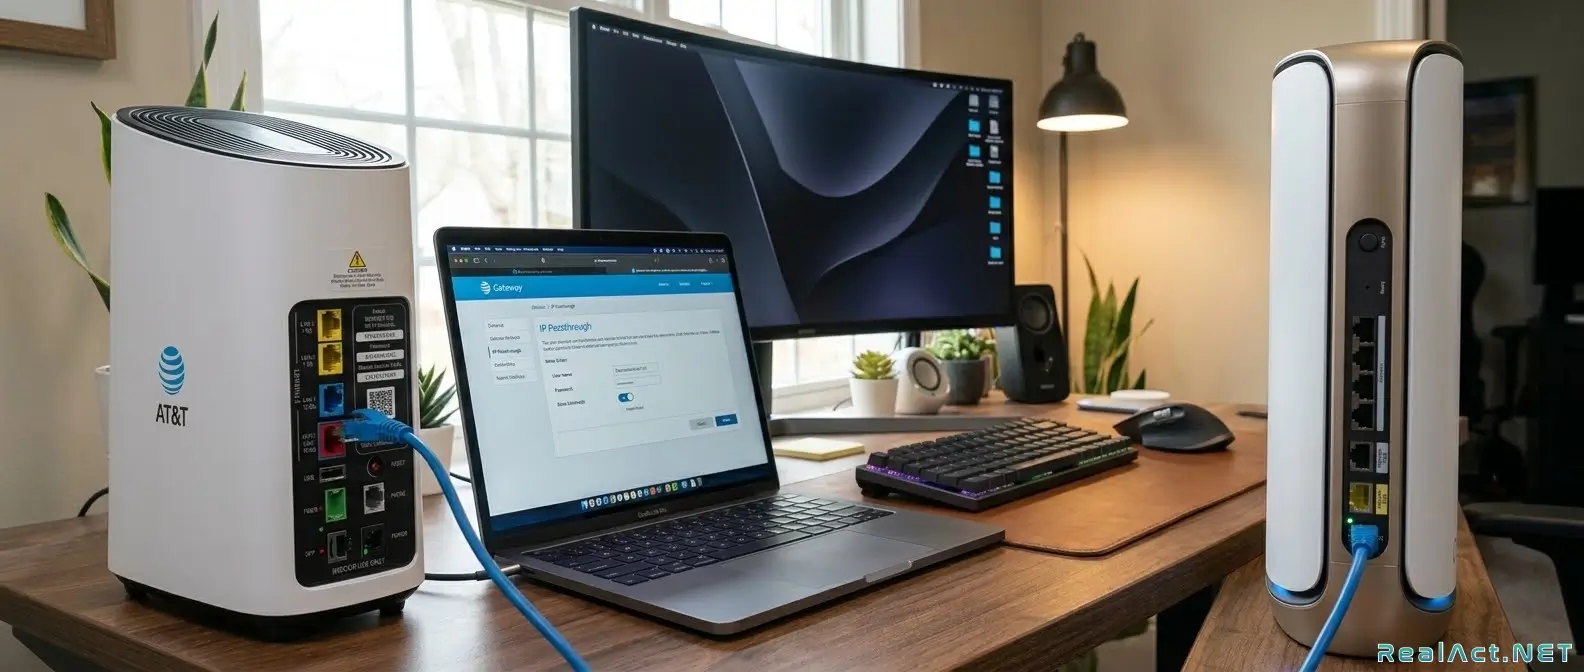
Set Up IP Passthrough & Fix Double NAT on AT&T Fiber (Tested on BGW620-700 & Orbi RBE971)
Connecting a high-performance mesh Wi-Fi system like the Netgear Orbi 970 Series (RBE971) to an AT&T Fiber Gateway (BGW620-700) should deliver blisteringly fast, seamless connectivity. However, if you plugged the Orbi’s WAN port straight into an Ethernet port on the AT&T gateway out of the box, you are almost certainly running into a common networking pitfall: Double NAT.
While this guide documents settings tested on an AT&T BGW620-700 and a Netgear Orbi RBE971, the same network logic and menu structures apply to other AT&T gateways (such as the BGW320 and BGW210) and other Netgear Orbi mesh systems (such as the 770, 850, and 960 series, etc.).
This article will guide you through the steps to properly configure IP Passthrough and avoid double NAT while doing so. I will also present you with most, if not all, of the possible errors and conflicts you might find while trying to get rid of your double NAT issue.
Important Reminder About The Troubleshooting Steps:
It is worth mentioning that perhaps only some of the advise below will apply to your particular issue, the guide follows a specific order of presenting the issues, so that in most cases you will not need to go through the whole guide, unless your network’s topology and configuration require you to do so in order to successfully get rid of the double NAT issues.
What Is Double NAT and Why Is It a Problem?
Network Address Translation (NAT) maps multiple private IP addresses on your local network to a single public IP address provided by your ISP.
When both your AT&T Gateway and your Netgear Orbi run their own routing and NAT engines in series:
The Consequences:
How to Check If You Have Double NAT
Before changing any configuration settings, check whether your Orbi is actually caught behind a second NAT layer.
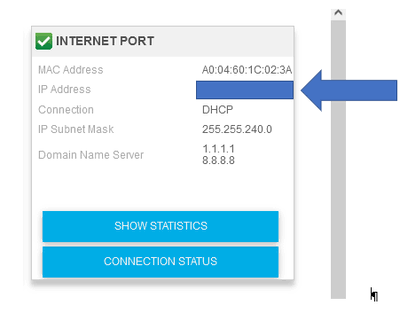
Check the Orbi WAN IP Address
How to Solve Double NAT: The Proper IP Passthrough Method
AT&T fiber gateways do not offer a traditional “Bridge Mode” toggle. Instead, AT&T provides IP Passthrough, which directs the gateway’s public IP address directly to the WAN MAC address of your Orbi while bypassing its internal NAT routing table.
⚠️ Note on Subnets: The AT&T gateway typically operates on 192.168.1.x (or 192.168.5.x). Netgear Orbi routers automatically detect this upstream network and shift their own internal network to 10.0.0.x to prevent routing conflicts.
Follow these steps to eliminate the second NAT layer:
Step 1: Record Your Orbi’s WAN MAC Address
Step 2: Access the AT&T BGW620-700 Gateway
Step 3: Configure IP Passthrough
Step 4: Disable Redundant Gateway Features
To prevent Wi-Fi channel crowding and latency issues:
Step 5: Power-Cycle Both Devices in Sequence
For the public WAN assignment to propagate via DHCP, reboot in this specific sequence:
What If You Follow The Above Steps, But the Orbi Still Shows An Internal IP And Not Your Public One
It can happen at times that even following the correct steps above, you are still double natting and the Orbi Router refuses to obtain your real public IP (The one that matches what you see when visiting whatismyipaddress.com). Now we will explore possible reasons and ways to fix them.
Since your AT&T BGW620-700 has the correct settings and switching modes didn’t break the lock, we are dealing with a known AT&T firmware quirk. The gateway’s internal DHCP server is holding onto that 192.168.x.xx lease and refusing to serve the public WAN IP to your Orbi.
Because your Orbi’s internal network is already isolated on 10.0.0.X, you can break this stalemate by clearing the gateway’s device table and manually changing the AT&T gateway’s local subnet.
Step 1: Clear the AT&T Gateway Device Table
The gateway might be trying to assign the public IP to a ghost lease or a different interface.
Step 2: Change the AT&T Gateway’s Internal Subnet
When the AT&T gateway and the router try to negotiate passthrough, the fact that the gateway’s default local IP (192.168.1.254) is close to the lease it’s handing out (192.168.1.65) can cause routing conflicts inside the gateway’s firmware. Changing the AT&T local range forces it to reset its routing tables completely:
Note: Your browser will lose connection to the gateway. To log back into the AT&T gateway in the future, you will now use 192.168.2.254.
Step 3: Pull the New IP
Once the AT&T gateway finishes saving those subnet changes:
By shifting the AT&T gateway to the 192.168.2.X block, you break the sticky lease. The gateway will now either hand your Orbi the true public WAN IP, or at the very worst, a 192.168.2.X address. If it lands on a 192.168.2.X address, you can safely go into the AT&T Passthrough screen (now at 192.168.2.254), select the new Orbi MAC signature, and reboot to successfully lock in the public WAN IP.
Possible Conflicts and Warnings from the ATT Gateway While Doing The Above
Hopefully at this point your problem has been solved. However, it can happen in certain network topologies that while following the previous steps and attempting to set up this configuration, you might receive this warning from the ATT Gateway:
You have fixed IP allocations that conflict with the proposed DHCP Server Range Warning: This DHCP change will result in the Home and Guest network IP address ranges overlapping, giving Guest network devices access to the Home Network.
This warning happens because of two separate issues overlapping on your AT&T BGW620-700:
To bypass this safety block cleanly, follow these steps in order:
Step 1: Temporarily Turn Off IP Passthrough
To wipe out the fixed IP conflict, we need to temporarily stop the gateway from trying to assign that passthrough profile.
Step 2: Use a Different Subnet Range (Bypasses the Guest Network Error)
Instead of fighting the guest network on the 192.168.2.X block, we will jump to a completely different private network block like 192.168.5.X. This bypasses the guest network error completely.
(Note: Your browser will lose connection. To log back in, go to your address bar and type 192.168.5.254).
Step 3: Re-enable IP Passthrough
Now that the subnet is completely shifted and the old allocation conflicts are broken, we re-apply your configuration:
Step 4: Final Reboot
Log into your Orbi at 10.0.0.1—the 192.168.1.65 lease will be broken, and it should finally pull your external public IP address!
While doing the above, You Might Find An IP Allocation Problem
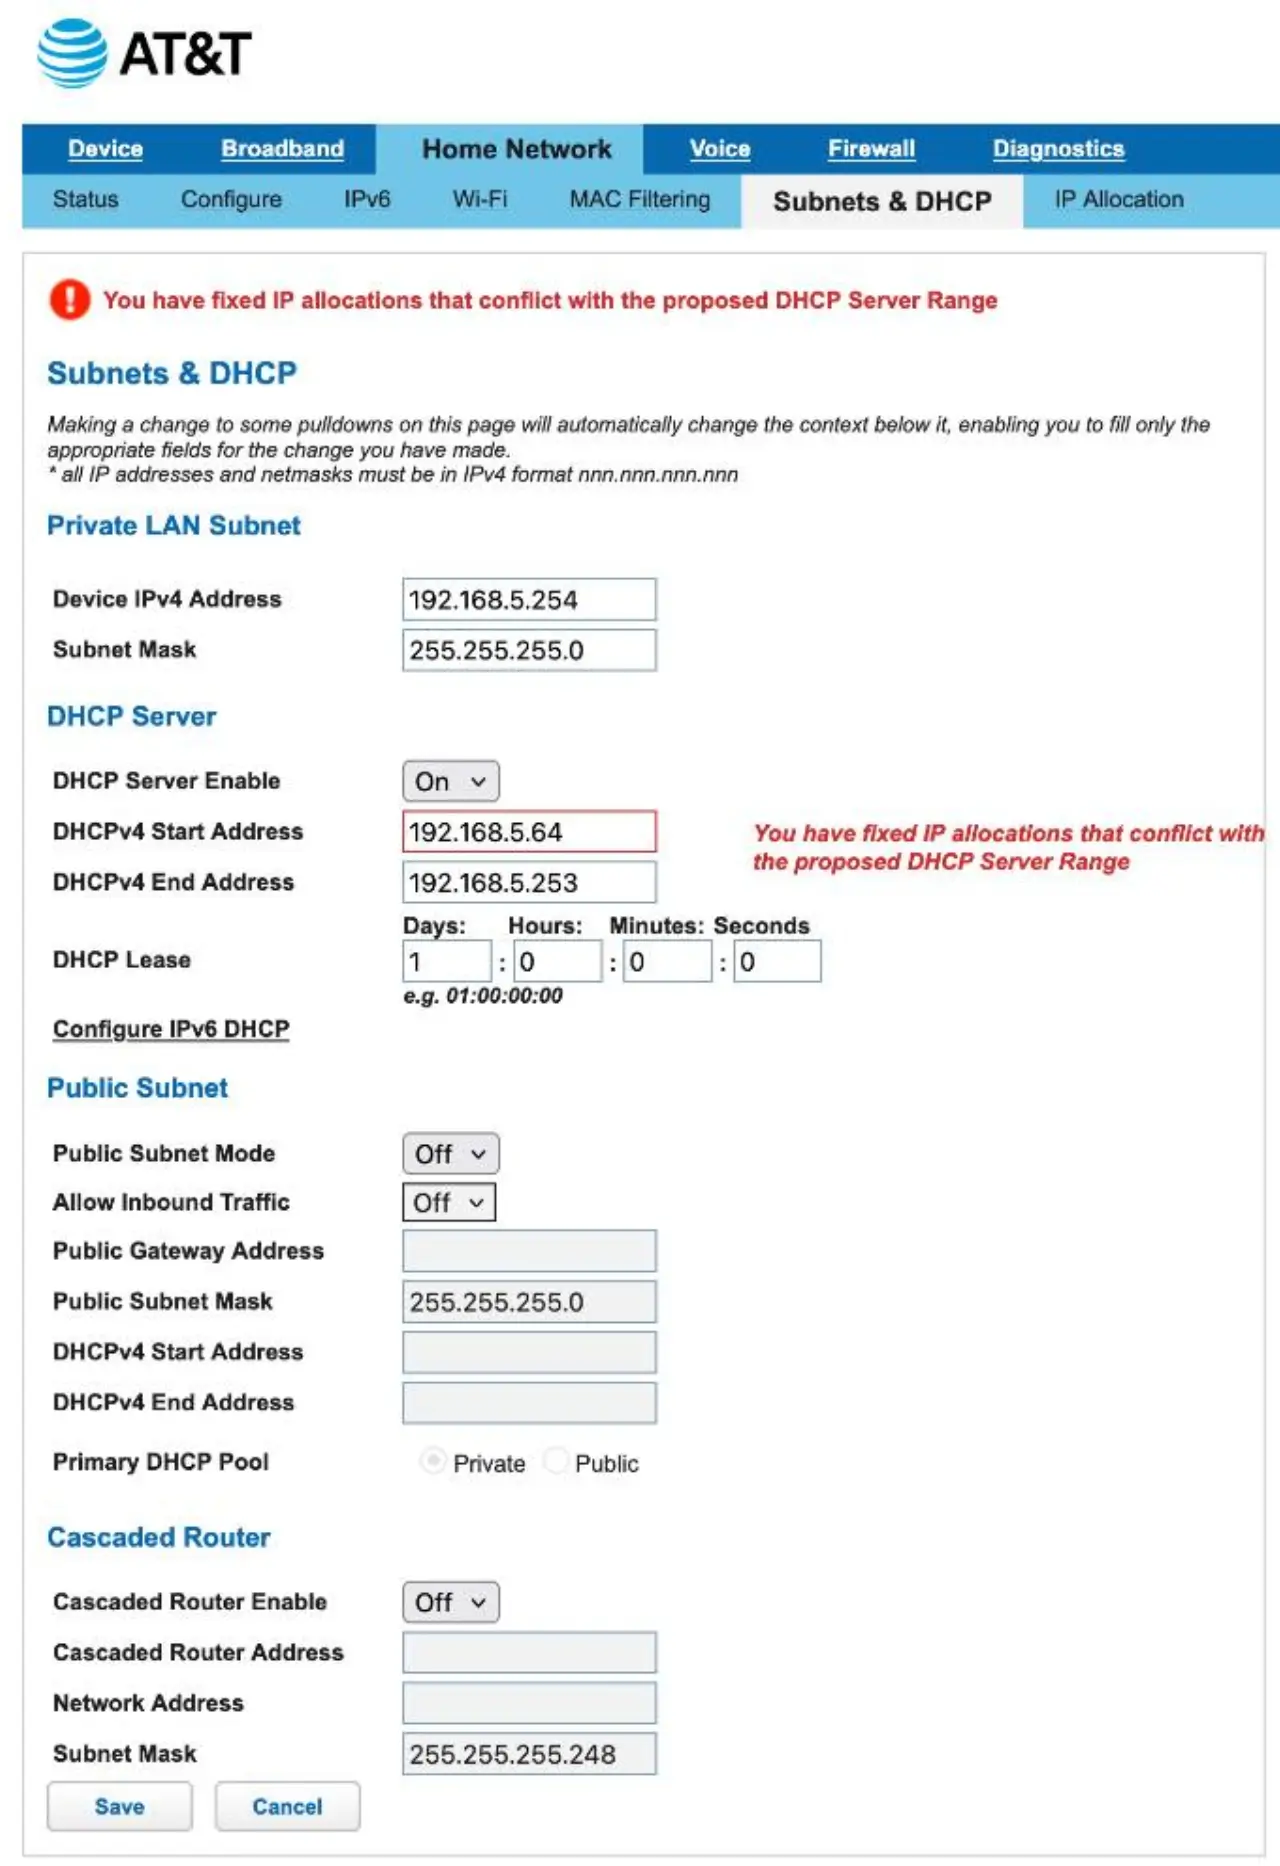
The error “You have fixed IP allocations that conflict with the proposed DHCP Server Range” means the AT&T gateway is blocking you because it still has an active rule explicitly mapping a device to an address starting with 192.168.1.X (such as your Orbi’s sticky 192.168.1.65 lease).
The gateway’s firmware will not let you shift the main pool to 192.168.5.X while an explicit, old static assignment exists anywhere in the system.
How to Cleanly Clear the Conflict and Change the Subnet
To fix this, we need to locate and delete the specific IP allocation rule holding onto the 192.168.1.X address before changing the subnet.
Step 1: Remove the Fixed IP Allocation Rule
Step 2: Clear the Device Cache
Step 3: Change the Subnet to 192.168.5.254
- Go back to Home Network > Subnets & DHCP (the page in your screenshot).
- Input your desired values again:
Finally, click Save at the bottom. The warning highlight will disappear, and the settings will successfully save.
Step 4: Re-enable IP Passthrough
One Final Issue To Finally Get Rid of Double NAT Once and For All
Unfortunately, we could still find ourselves in a situation where, after following all the steps above, the Netgear Orbi might still not be pulling the public IP, but don’t despair; follow the steps below to finally and once and for all fix the double NAT issue.
The good news is that you should have by now successfully broken the old sticky network lock, moved the AT&T gateway’s local subnet to 192.168.5.254, and your Orbi router has properly grabbed a brand new local IP (192.168.5.XX).
Seeing the entry automatically pop back up under IP Allocation is normal. Because your Orbi is plugged in, the gateway detected it right away and assigned it a standard dynamic IP address from its fresh new pool.
Since the gateway’s IP pool is completely updated, you can now cleanly activate the true public IP passthrough by binding it to this new lease.
Step 1: Match the Allocation Setting to Your IP Passthrough Rules
Right now, your screenshot shows that under New Allocation, the gateway is set to “Address from DHCP pool”. This means it is still treating your Orbi as a regular home client rather than passing the public IP through.
Step 2: Lock in IP Passthrough Mode
Step 3: Force the Final Handoff
To completely get rid of the 192.168.5.64 address and swap it out for your public WAN IP, the Orbi must request an IP update one last time now that all the rules are perfectly aligned:
Once the Orbi finishes reconnecting, check its status page at 10.0.0.1. The 192.168.5.X address should completely disappear, replaced by your true public internet IP address! (The same one you see when you visit https://www.whatismyip.com)
I hope that this article will help and guide you in solving your double NAT situation with your AT&T Gateway and your Netgear Orbi router. If you have any questions, do not hesitate to leave a comment with any questions or concerns you might have, remembering to follow the rules. 🙂



| Let's keep the conversation clean please; read the discussion rules.